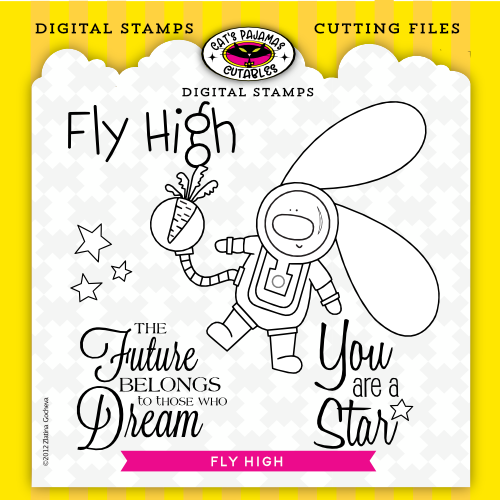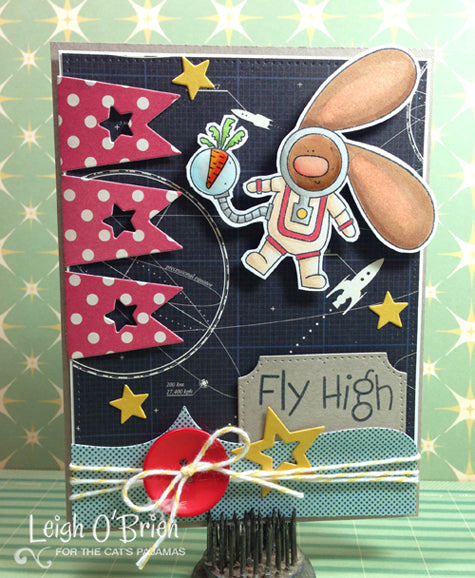

The Bunny is back and BLASTING OFF! I've always loved these really fun big eared bunnies from Zlatoena. They're a color-ers (colorists?) dream. And Alma's got a whole bunch of great sets that feature him doing super silly stuff!

I decided to pull a few of the images from the SOAR digi set into a frame and make a shaker. This is really easy stuff in Silhouette Studio.
Let's see if I can sum up the steps in short order but make them understandable...
- I created a slimline rectangle in the Silhouette software, opened the rocket, "Anything is Possible" sentiment, and the stars. I resized the images to fit into my frame with edges touching.
- Once I had things in place, I used the Offset tool and created a border around each image. I moved the line images off the design space, grouped the offset images, then moved the line images back in place.
- I changed the offset group to white so that it wouldn't print, made sure that the print registrations were included, and then printed the images onto white cardstock in the laser printer.


4. I then added color back to the offsets and ran the printed sheet through the Silhouette to cut the design. Voila!
The background is blended Distress Oxide inks with water, white acrylic paint, and black marker spatters and a couple of white gel pen sparkles. I colored the images with Copics and backed the frame with clear acetate. The shaker is filled with sequins and sparkly stars. Mount the shaker to a card base and you're good to go.

Don't forget that the big sale is still ongoing here at TCP! 40% off of ALL STAMPS, DIES, STENCILS AND EMBELLISHMENTS! Get it while you can! (I love me a good sale!)